

Pre-Production Sampling: How to Get Your Custom Necktie Prototype Right Before Bulk Manufacturing
Aug 15, 2026
Leave a message

Introduction
For B2B buyers-whether you are a corporate gift procure sourcing 5,000 branded ties or a fashion brand manager launching a new menswear line-the gap between a digital mockup and a finished product can be the difference between a successful collection and a costly recall. In the neckwear industry, where fabric weight, pattern matching, and stitching density define perceived quality, pre-production sampling is not a mere formality; it is your only opportunity to catch defects before your capital is committed to bulk fabric cutting. This guide, written from the perspective of an established Chinese necktie and scarf manufacturer, walks you through every stage of the sampling process, from technical pack submission to final approval, ensuring your custom necktie prototype is factory-ready before production begins.
What Is Pre-Production Sampling?
Pre-production sampling is the systematic process of creating physical prototypes of your custom necktie design under factory conditions, prior to committing to full-scale bulk manufacturing. Unlike a simple "sample request," this process involves multiple iterative stages-lab dips, strike-offs, and proto samples-each designed to validate a specific aspect of your specification. For a custom necktie, this includes verifying the exact shade of silk or polyester, confirming the pattern alignment at the tip and neckband, and testing the structural integrity of the lining and interlining. The goal is to de-risk your order: by the time you approve the pre-production (PP) sample, you have effectively signed off on the final product's appearance, construction, and quality standards, minimizing the likelihood of disputes or rejected shipments later.

The Step-by-Step Pre-Production Sampling Process
Our factory's sampling workflow is designed to be transparent and collaborative, ensuring that every stakeholder-from your design team to our production floor-is aligned. Below is the exact sequence we follow for every custom necktie order, which typically spans 4-6 weeks from initial inquiry to bulk-ready approval.
Step 1: Submit Your Technical Pack
Your journey begins with a comprehensive technical pack (Tech Pack). This document must include: a high-resolution design file (AI or PDF) with exact dimensions (standard tie length is 148cm, but we accommodate custom lengths from 140cm to 155cm); a detailed color breakdown with Pantone references; fabric composition requirements (e.g., 100% silk twill, 100% polyester microfiber, or a silk-wool blend); and specific construction notes such as the number of folds (3-fold, 6-fold, or 7-fold), tip shape (straight, pointed, or square), and whether you require a self-tipped or contrast-tipped reverse. If you are a corporate buyer, include your logo's embroidery or jacquard placement specifications. A complete tech pack reduces back-and-forth communication by up to 70% and ensures our pattern makers can proceed without assumptions.
Step 2: Lab Dip Approval (Color Accuracy)
Once your tech pack is received, our dye house produces lab dips-small swatches of fabric dyed to match your specified Pantone colors. For a custom necktie with multiple colors (e.g., a striped pattern with 4 colors), we prepare a separate lab dip for each colorway. This step typically takes 5-7 business days. We recommend you evaluate lab dips under multiple light sources: D65 (daylight), TL84 (store lighting), and incandescent (home lighting) to ensure the shade matches your expectations in real-world retail environments. Be aware that silk and polyester absorb dyes differently; a Pantone swatch printed on paper will always appear slightly different from a dyed silk thread. We provide a physical AATCC Gray Scale rating with each dip, and we encourage you to sign off on the physical swatch, not just the digital photo, to avoid later disputes over "color deviation."
Step 3: Strike-Off or Print Approval (Design Verification)
If your necktie design involves a printed pattern (rather than a woven jacquard), the next stage is a strike-off. This is a printed sample of the pattern on the actual base fabric, allowing you to verify the scale, registration, and color placement. For woven designs, this step is replaced by a "blanket" or "dobby" sample, which shows the final weave structure. This stage is crucial because it reveals issues like pattern blurring, color bleeding, or incorrect motif scaling. For a jacquard tie, the strike-off is often a small loom sample that demonstrates the weave density and how the pattern interacts with the fabric's surface. Expect this step to take 7-10 business days as it requires setting up the loom or printing machine. We advise you to check the pattern repeat-a poorly matched repeat at the tie tip is a classic defect that is impossible to correct after cutting.

Step 4: Proto Sample (First Physical Prototype)
With the lab dip and strike-off approved, our sample room cuts and sews a proto sample. This is the first time you will hold a physical necktie in your hands. The proto sample validates the overall shape, construction, and hand-feel. Our master tailors will inspect the tipping (the fabric on the underside of the tie), the interlining (the wool or wool-blend layer that gives the tie its body), and the bar tack (the cross-stitching that holds the tie's folds together). We encourage you to wear the proto sample, knot it, and assess its "self-life"-the ability of the tie to return to its original shape after being untied. A poor self-life indicates an incorrect interlining weight. This stage typically takes 3-5 business days after the strike-off is approved, and it is your last chance to change the silhouette before we move to the PP sample.
Step 5: Pre-Production Sample (PP Sample)
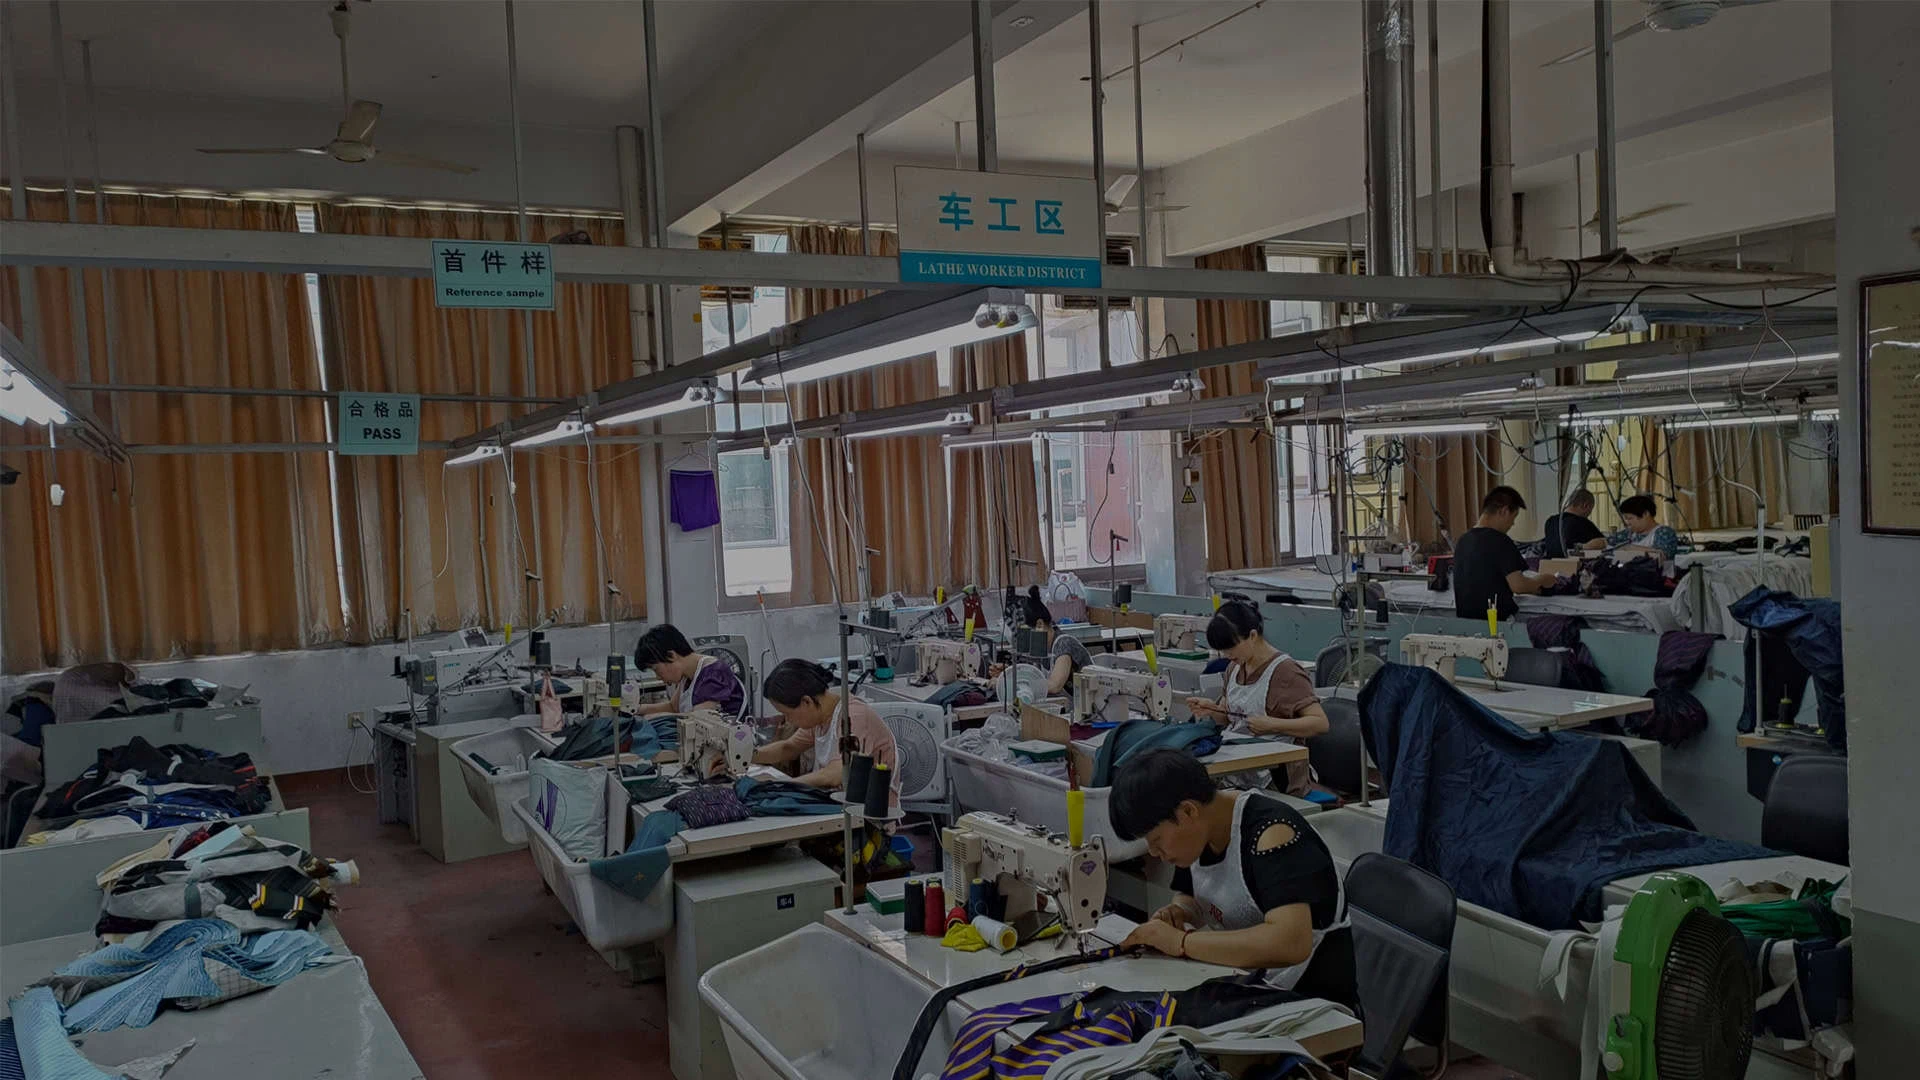
The pre-production (PP) sample is the most critical stage. Unlike the proto, which is often hand-made with extra care, the PP sample is produced using the exact same machinery, cutting dies, and sewing operators that will be used for bulk manufacturing. This ensures that the PP sample is a true representation of the mass-produced product. For a custom necktie order, we typically produce 2-3 PP samples from different production lines to check for consistency. During this stage, we measure the tie against your tech pack specifications: length tolerance (usually ±1cm), width at the widest point (typically 8cm), and the exact placement of the keeper loop and label. We also verify the "roll" of the tie-the way the edges roll inward toward the center-which is a hallmark of a high-quality tie. The PP sample stage takes 5-7 business days.
Step 6: Final Approval and Bulk Production
Upon your written approval of the PP sample, we lock the "golden sample" in our archive and proceed to bulk production. This approval is a legal and commercial milestone: it confirms that the factory is released from liability for any deviations from the approved sample, provided we adhere to the locked specifications. For corporate buyers, we recommend retaining a physical copy of the PP sample for your own incoming quality control (QC) checks. Bulk production for a standard 500-piece order typically takes 2-3 weeks after PP approval, depending on the complexity of the weave and the availability of the dyed yarns. We provide a mid-production inspection report with high-resolution photos so you can monitor progress remotely.

Common Quality Issues Found at the Sampling Stage
Our QC team encounters several recurring defects during the sampling phase. Understanding these will help you ask the right questions when evaluating your own samples. The most frequent issues include:
1. Color Deviation and Shade Variation: Even with approved lab dips, bulk dye lots can vary. This is why we recommend ordering a "cutting certificate" or "top sample" from the actual production dye lot. Shade variation can occur between the body of the tie and the tipping, especially if they are cut from different batches of fabric.
2. Stitching Density and Seam Strength: A standard necktie should have 8-10 stitches per inch on the seams and a bar tack that is dense enough to withstand repeated knotting. Loose stitching or a weak bar tack will cause the tie to unravel after a few wears. During PP sampling, we perform a "pull test" on the seam to ensure it meets a minimum tensile strength.
3. Pattern Misalignment: For striped or patterned ties, the pattern must align perfectly at the tip and the neckband. A "run-off" pattern is a manufacturing defect that immediately signals low quality to a discerning end-user.
4. Interlining Shrinkage: The wool interlining can shrink after the tie is steamed, causing the outer fabric to pucker. This is only visible after wearing and is a critical reason to test the PP sample under humidity conditions.
How to Evaluate a Pre-Production Sample: A Buyer Checklist

To help you standardize your evaluation process, we have compiled a professional checklist used by our most experienced importers. Use this to grade your PP sample before issuing a bulk release.
- Dimensional Accuracy: Measure the length (allow ±1cm), width at the widest point, and the length of the tipping. Compare these to your tech pack. A deviation of more than 2% from the specified width is a reject.
- Color Consistency: Place the PP sample next to the approved lab dip under a D65 light source. Check both the face and the reverse of the tie. Look for any "barre" (horizontal banding) or uneven dyeing.
- Stitching Integrity: Examine the slip-stitching (the thread that runs through the center) and the bar tack. The stitches should be tight, uniform, and invisible from the outside. Gently pull the two sides of the tie apart to test the seam strength; there should be no gaping.
- Pattern Alignment: Fold the tie into a knot and check if the pattern matches at the front blade and the neck loop. The pattern should mirror perfectly at the tip.
- Hand-Feel and Self-Life: Crush the tie in your fist for 30 seconds, then release. The tie should spring back to its original shape with minimal wrinkling. A limp tie indicates insufficient interlining weight.
- Label and Branding: Verify the placement, font, and stitching of the brand label. For corporate gifts, ensure the logo embroidery is centered and has no loose threads.
Timeline and Cost: What to Expect
From a factory perspective, transparency in timelines and costs prevents friction. Here is a realistic breakdown for a standard custom necktie order (500-1,000 pieces):
Sampling Timeline: Lab dip (5-7 days) → Strike-off/Weave sample (7-10 days) → Proto sample (3-5 days) → PP sample (5-7 days). Total sampling phase: 20-29 business days (approximately 4-6 weeks). This does not include your internal review time, which we advise you to cap at 3-5 days per stage to avoid production delays.
Sampling Costs: Most reputable factories, including ours, offer a "sampling credit" or deduct the sampling cost from the bulk order if the order exceeds a minimum quantity (typically 300-500 pieces). If you order a custom jacquard weave, there is an additional "loom setup" or "CAD charge" that ranges from $100 to $300, depending on the pattern complexity. For standard printed or solid-color ties, the sampling fee is usually between $50 and $150 per sample, which includes the lab dips and the PP sample. Always confirm whether the shipping cost for the samples (e.g., DHL, FedEx) is included in the quote.
Why This Process Matters for Your Business

In the B2B neckwear trade, the cost of a failed bulk order is catastrophic. A single defect-such as a color deviation that is visible under retail lighting-can result in a 100% rejection by your downstream client. The pre-production sampling process is your insurance policy. It allows you to build a "golden sample" that serves as the definitive quality benchmark for both your factory and your own QC team upon delivery. For corporate gift buyers, a flawless prototype ensures that your company's logo is presented with the elegance it deserves, reflecting positively on your brand. For fashion brands, a rigorous sampling phase reduces time-to-market by preventing last-minute re-runs. By investing 4-6 weeks in this process, you are protecting the integrity of your product and your reputation.
Conclusion
Pre-production sampling is not a bureaucratic hurdle; it is the bridge between your creative vision and a manufacturable, market-ready product. By following the six-step process outlined above-from tech pack submission to PP approval-you can eliminate guesswork, reduce risk, and ensure that your custom necktie prototype is perfected before a single meter of bulk fabric is cut. As a manufacturer with over two decades of experience in the Chinese neckwear industry, we urge you to treat the sample approval as a binding contract. Communicate clearly, evaluate rigorously, and partner with a factory that values transparency. When you get the prototype right, the bulk production becomes a seamless execution of a proven design.
References
- International Silk Association: Quality Standards for Silk Neckwear
- AATCC Test Methods for Colorfastness and Shade Evaluation
- The Fashiondex Guide to Creating a Professional Technical Pack
- Neckwear Industry Association: Pre-Production Sampling Best Practices
- Textile World: Quality Control Protocols in Textile Manufacturing
Send Inquiry